How to Create a Before and After Image Slider in Squarespace

A before and after image slider is a fantastic way to show two images side-by-side, with a slider to toggle between them.
You can use this type of slider to show off a renovation project, a beauty treatment… even how your town or city looked in the past!
Unfortunately, you can't build a before and after image slider directly in Squarespace. But there are two different ways you can create your very own bespoke slider for your website.
In this article I’ll show you how to build a before and after image slider in Squarespace using Spark Plugin as well as by adding a snippet of custom code.
Option 1: By using Spark Plugin
With Spark Plugin, you can add a before and after image slider to your website without having to code it in. All you have to do is create a gallery section and Spark Plugin will do the rest.
Your slider will automatically adapt to updates, meaning it won’t break if Squarespace launches a product update, and you can easily customize your slider to suit your specific needs.
Best of all, you get access to over 100 other cool customizations too!
Step 1: Install Spark Plugin
(If you already have Spark Plugin installed on your website you can skip this step!)
Sign up for Spark Plugin and you’ll receive a small snippet of code.
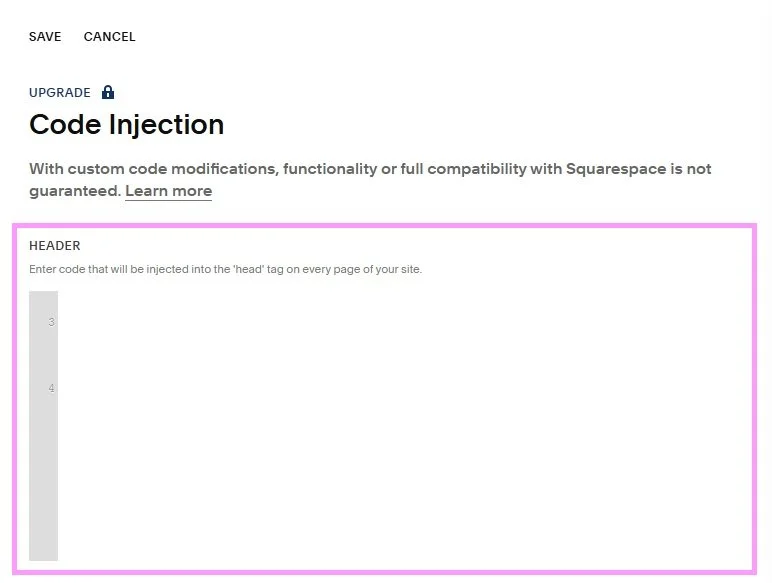
Go to Pages and scroll down to the bottom of the menu. Click on Code Injection and paste your code snippet into the HEADER box. If there’s already code in the box, don’t delete it—paste your snippet above it.
Click SAVE when you’re done.
You’ll know the code worked as you’ll see a small pink Starburst in the top right-hand corner of your website, like the image below. If you can’t see it, log out of your website and log back in.

Step 2: Create your gallery section
This customization works by turning a gallery section on your page into an image slider. So next, we’re going to set up our gallery section.
Go to the page you want to add your before and after image slider to. Click EDIT and then ADD SECTION.
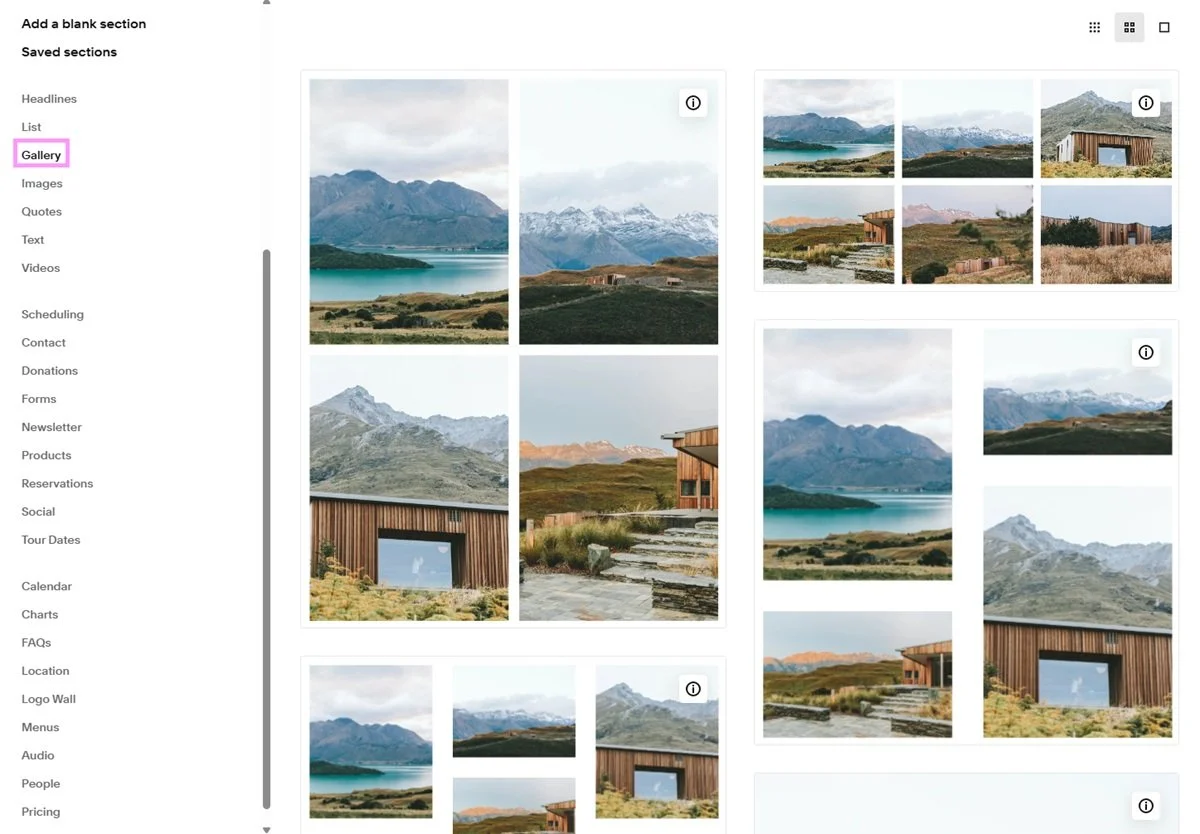
Choose Gallery (you may have to go into Classic Editor to access this) and select a layout. It doesn’t matter which layout you choose, as you’ll be editing it so it only contains two images.
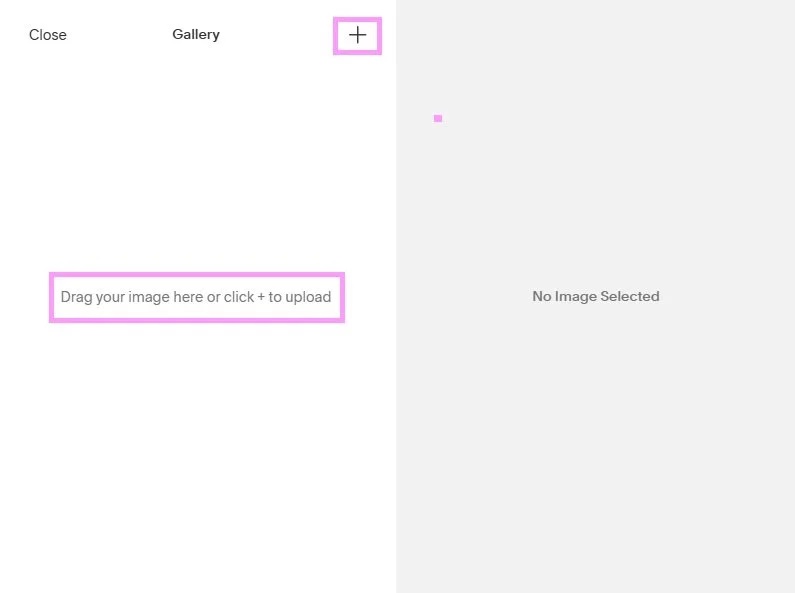
Hover over your new gallery section and click EDIT GALLERY. Remove all of the stock images by hovering over them and clicking the red trash can icon.
Replace them with your own images. You can do this by dragging your images into the box or clicking the plus (+) sign.
For the best results and a seamless slide, make sure your images have the same dimensions.
Step 3: Turn your gallery section into a slider
Click on the Spark Plugin icon in the top right-hand corner of your website to open the Spark Plugin menu.
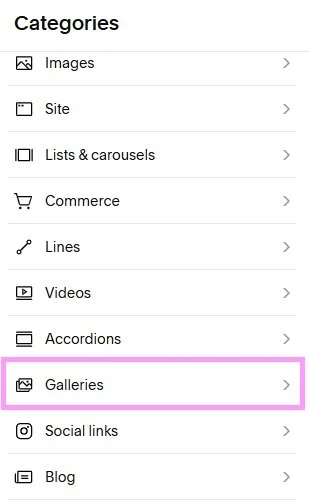
Select Galleries in the main menu.
Make sure you’ve selected your gallery section— it should be highlighted pink on your page. Go to Before and After slider and toggle it from off to on.
Spark Plugin will automatically transform your gallery into a slider!
Once your new before and after image slider is in place, you can customize it to match the look and feel of your site. You can:
Change the color of the divider and background
Change the size of the slider (in general and on mobile)
Round the corners of the slider
Add a border or shadow
Change the size, color, and name of the labels
Experiment until you find a style you love!
Once you’re done, click out of the Spark Plugin menu and SAVE your page.
Option 2: By using custom code
If you don’t have Spark Plugin, want to add a slider to a block rather than a section, or are a seasoned coder, you can add a before and after image slider to your website with a piece of code.
Here’s how to get started.
(Note: This only works on Squarespace 7.1. Here’s how to check which version of Squarespace you’re using.)
Step 1: Upload your images
Upload your before and after images to your website and grab the URLs for both of them. As before, make sure the two images have the same dimensions, otherwise they will not match up in the slider.
Alternatively you can use this handy image URL feature from Beyondspace.
Step 2: Add your code
Next, go to the page you want to add your image slider to. Click Add Block then Code.
Make sure Display Source Code is toggled off and add this code to the block. Replace beforeURL and afterURL with the URLs to your before and after images.
<style>
  .custom-image-slider {
    position: relative;
    width: 100%;
    overflow: hidden;
    height: 0;
    padding-bottom: 75%; /* Adjust this value according to your image aspect ratio */
  }
  .slider-before, .slider-after {
    position: absolute;
    width: 100%;
    display: block;
    top: 0;
    left: 0;
    height: 100%;
    object-fit: cover;
    user-select: none;
  }
  .slider-after {
    overflow: hidden;
  }
  .slider-handle {
    position: absolute;
    top: 0;
    left: 50%;
    width: 4px;
    height: 100%;
    background-color: #fff;
    cursor: ew-resize;
  }
  .slider-handle::before, .slider-handle::after {
    content: "";
    position: absolute;
    top: 50%;
    width: 0;
    height: 0;
    border-top: 12px solid transparent;
    border-bottom: 12px solid transparent;
    cursor: ew-resize;
    transition: all 0.2s ease-out;
  }
  .slider-handle::before {
    left: -24px;
    border-right: 16px solid #fff;
  }
  .slider-handle::after {
    right: -24px;
    border-left: 16px solid #fff;
  }
  /*REMOVING THE SPACE UNDER CODE BLOCKS IN SQUARESPACE 7.1 WHEN USING FLUID ENGINE*/
  html.squarespace-damask .sqs-blockStatus,
  .sqs-block .removed-script {
    display: none;
  }
</style>

<div class="custom-image-slider">
  <img class="slider-before" src="//static1.squarespace.com/static/66fe77383a1f957a96cef620/t/67dd97b1adfaae655c9302ce/1742575538218/simon-lee-hrOXaenH640-unsplash.jpg" alt="Before">
  <img class="slider-after" src="//static1.squarespace.com/static/66fe77383a1f957a96cef620/t/67dd97b1b0e26e3731f9e4fc/1742575538135/simon-lee-z1vpjHAq1o8-unsplash.jpg" alt="After">
  <div class="slider-handle"></div>
</div>

<script>
  document.addEventListener("DOMContentLoaded", function () {
    const sliders = document.querySelectorAll(".custom-image-slider");
    sliders.forEach(function (container) {
      const afterImage = container.querySelector(".slider-after");
      const handle = container.querySelector(".slider-handle");
      const initialPercentage = 50;
      handle.style.left = `${initialPercentage}%`;
      afterImage.style.clipPath = `inset(0 ${100 - initialPercentage}% 0 0)`;
      let dragging = false;

      const onMouseMove = (e) => {
        if (!dragging) return;
        const rect = container.getBoundingClientRect();
        const x = e.clientX - rect.left;
        let widthPercentage = (x / rect.width) * 100;
        widthPercentage = Math.max(0, Math.min(widthPercentage, 100));
        window.requestAnimationFrame(() => {
          handle.style.left = `${widthPercentage}%`;
          afterImage.style.clipPath = `inset(0 ${100 - widthPercentage}% 0 0)`;
        });
      };

      const onTouchMove = (e) => {
        if (!dragging) return;
        const rect = container.getBoundingClientRect();
        const x = e.touches[0].clientX - rect.left;
        let widthPercentage = (x / rect.width) * 100;
        widthPercentage = Math.max(0, Math.min(widthPercentage, 100));
        window.requestAnimationFrame(() => {
          handle.style.left = `${widthPercentage}%`;
          afterImage.style.clipPath = `inset(0 ${100 - widthPercentage}% 0 0)`;
        });
      };

      const stopDragging = () => {
        dragging = false;
        document.removeEventListener("mousemove", onMouseMove);
        document.removeEventListener("touchmove", onTouchMove);
        document.removeEventListener("mouseup", stopDragging);
        document.removeEventListener("touchend", stopDragging);
      };

      // Mouse events
      handle.addEventListener("mousedown", (e) => {
        dragging = true;
        e.preventDefault();
        document.addEventListener("mousemove", onMouseMove);
        document.addEventListener("mouseup", stopDragging);
      });

      // Touch events
      handle.addEventListener("touchstart", (e) => {
        dragging = true;
        e.preventDefault();
        document.addEventListener("touchmove", onTouchMove);
        document.addEventListener("touchend", stopDragging);
      });
    });
  });
</script>
Here’s a quick video tutorial to walk you through how to do this:
And that's all you need to do to add a slider to your Squarespace site with code!
One final tip—I recommend going into preview mode just to make sure your slider works the way you want it to.
Now you know how to add a before/after image slider to your Squarespace website by using code and by using Spark Plugin. Have fun creating awesome sliders that will wow your web visitors!
Looking for more awesome ways to showcase your photos? Here are ten quick tweaks you can make to your image galleries.