How to Create a Payment Link in Squarespace: 3-Step Guide

If you want to request money from customers but you don't want to send an invoice, you can send a Squarespace payment link.
Easy to create and send, you can use pay links no matter which Squarespace plan you're on.
If you're on the Basic plan you can have one active link, if you're on the Core plan you can have five, and you can have as many as you like if you're on the Plus or Advanced plan. All you need to do is connect the payment processor of your choice.
Here's how to get set up.
Set up a Squarespace pay link in 3 minutes
Step 1: Go to the Squarespace pay links menu
Go to the main menu and select Invoicing, then choose Pay Links to get started.
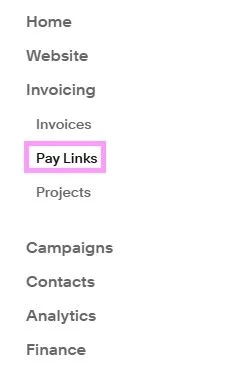
If you can't it in the menu, select the magnifying glass at the top of the menu and search for Invoicing.

You can also select Customize Sidebar at the very bottom of the menu to add it in for future use.
Step 2: Create your pay link
Click the CREATE PAY LINK BUTTON in the Pay Links menu. If you haven't done so, you will need to connect a payment processor before you can accept payment.
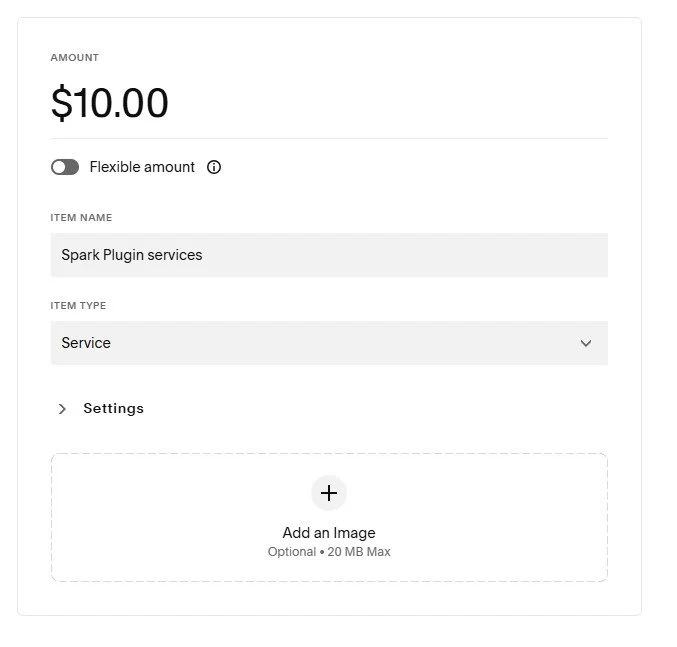
You will have the option of:
Adding a title
Choosing an amount (this can be set or flexible)
Choosing an item name and type
Adding an image
Click SAVE AND SHARE when you're done.
Step 3: Share your link
Squarespace will create a link and QR code you can share with customers by email, text, or in person.
You can track this link, how often it's been clicked, and how often payment has been made in the Pay Links menu.
If you need to edit or delete a pay link, click the three dots (…) next to the link.
And that's all there is to it! Now you know how to set up a Squarespace payment link!