Squarespace Bio Sites: Add a Link in Bio Effortlessly

Link in Bio tools are a brilliant way to show off what you do and drive traffic to your website.
Think of them as mini landing pages for your business!
Squarespace also offers its own Link In Bio functionality, known as Squarespace Bio Sites. With it, you can have a mini-site up and running in ten minutes!
New to the world of Squarespace Bio Sites? I’m going to show you how to get started in four simple steps.
Why might you need a Squarespace Bio Site?
The main reason why people use Squarespace Bio Sites is to guide people towards their websites and other resources.
Social media platforms like Instagram only let you link to one website in your profile, so a Squarespace Link in Bio site is a great way to make the most of this valuable real estate.
Alternatively, Squarespace Bio Sites are fantastic if you run a small business and don’t have a website. You can use Squarespace Link in Bio to tell people more about your business, showcase your products and services, and encourage them to get in touch.
You can also use a Bio Site to test the waters and see if your business idea is viable before you commit to a website.
Is Squarespace Link in Bio free?
Yes! You can set up and use your Squarespace Bio Site free of charge.
The Pro version has additional functionality and even more powerful insights so you can see what your visitors are clicking on.
You also pay 0% transaction fees on any payments you receive through your bio, which can make the cost of the Pro version worth the money alone.
The Pro version costs $5 a month or $40 a year if you pay for 12 months in advance. You also get a free 7-day trial to see if it’s right for you.
Do I need a Squarespace website to use a Squarespace Bio Site?
No – Squarespace Bio Sites is a standalone platform, so you don’t need to use the Squarespace platform. You will need to sign up for a free Squarespace account though.
How to set up a Squarespace Bio Site
Step 1
Go to the Squarespace Bio Sites webpage and click on Create a Free Bio Site.
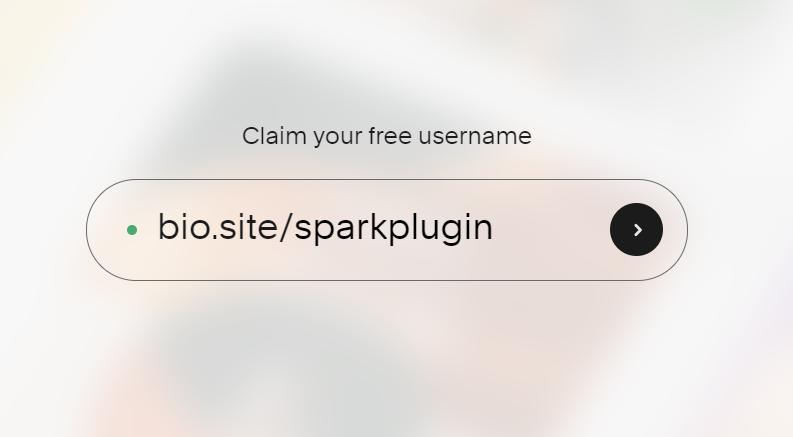
Choose a unique name for your site and click on the black arrow. You can change this later if you need to.
You’ll then be asked to log into your Squarespace account – if you don’t have one, you can set one up for free.
Step 2
Choose a template for your Squarespace Bio Site. There are lots of different templates to choose from, so pick the one that best suits your brand and personality.

You can change your template later, as well as the colors and fonts.
Click the black Try this Template button when you’re done.
Step 3
Add your name and image to customize your Squarespace Bio site. Choose a photo or logo, whatever best represents you! A square image works best, and you can change both later.

Click the black arrow when you’re ready.
Next, add your social media profiles. You can add up to eight. Click the black arrow when you’re done.

Next, add links to your website and other important content. You can also add an image or icon to represent your site. This section is ideal if you want to add additional social media profiles too.

Click the black arrow when you’re done.
Step 4
Your Squarespace Bio Site is now ready!

Click Continue Editing to make additional changes and to edit your Squarespace Link in Bio further. Some examples of other things you can add include:
Embedding videos, social media images, songs, and podcasts
A tip box to receive donations and payments (you need to connect Stripe or PayPal to collect payments)
A mailing list box to collect emails (bear in mind that this is only available in the pro version)
Your Squarespace Link in Bio site is private by default, meaning you’re the only one who can see it. To make it public, go to Continue Editing, click the Site box and change Private to Public. Click Save, and you’re set.

Your URL will be bio.site/username. You can add this anywhere you like. Alternatively, click the Share button to add your link to your social media profiles.
And there you have it: how to create a Squarespace Bio Site for your business in four simple steps! Why not set one up today for free?