How to Add a Payment Plan to Squarespace
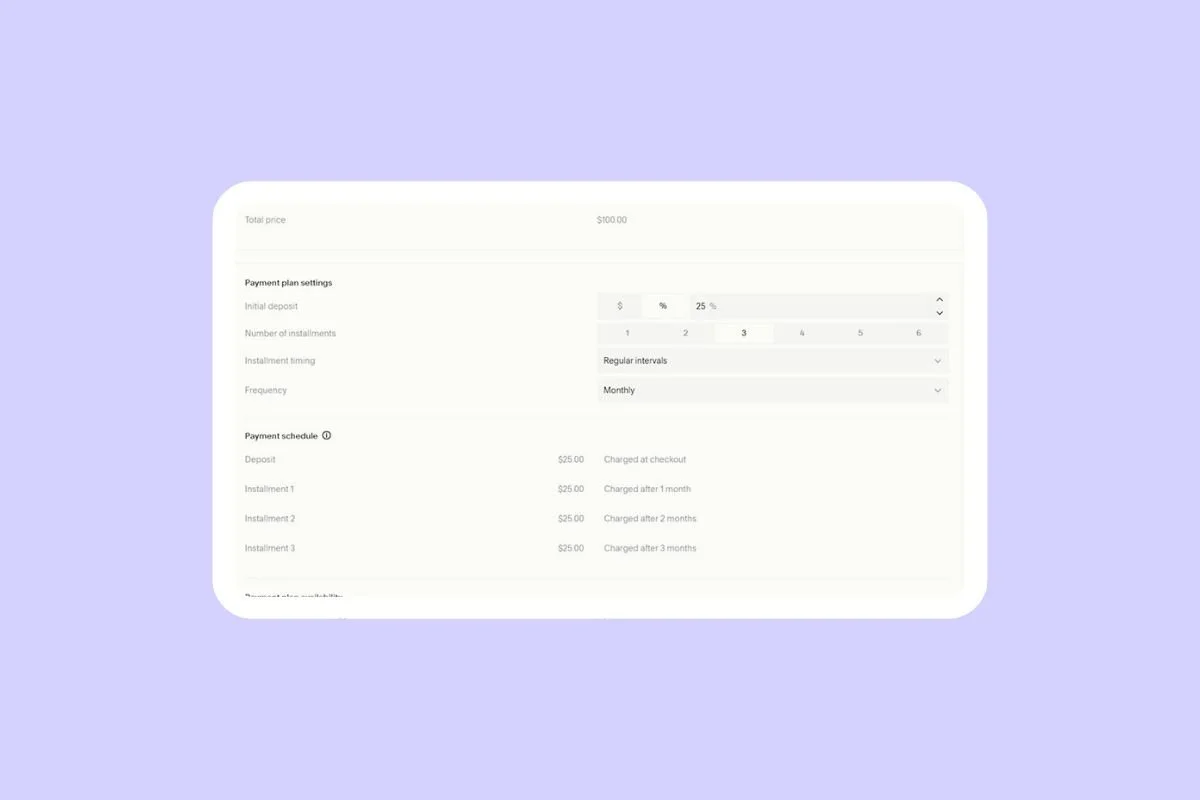
Did you know that if you sell a service on your Squarespace site, you can offer a payment plan to customers?
This allows you to capture an initial deposit and give your customers the option to pay in installments rather than paying in full.
Here’s how to set up a payment plan in three easy steps:
How to add a payment plan to your Squarespace website
Before you begin, are a few things to bear in mind if you want to set up a payment plan:
The service you sell must cost more than $100
You can only offer a payment plan on services, not products
You must be on version 7.1 of Squarespace
You can’t offer a payment plan and a subscription option on the same service
If a payment fails, Squarespace cancels the plan, notifying both you and the customer
Shoppers need to create a customer account to take advantage of a payment plan (they can’t use guest checkout)
Now let’s get started!
Step #1: Enable payment plan
Go to Pages and select your store.
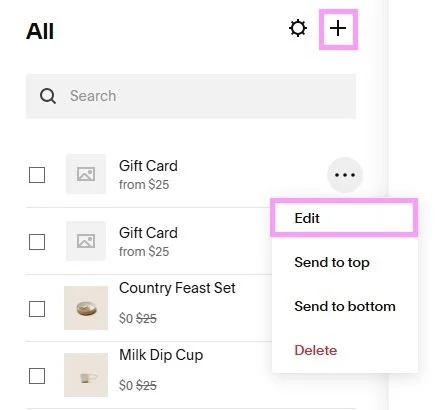
Click the Plus (+) sign to create a new service, or edit an existing one by hovering over the service, clicking the three dots (…) and choosing Edit.
Step #2: Customize your payment plan
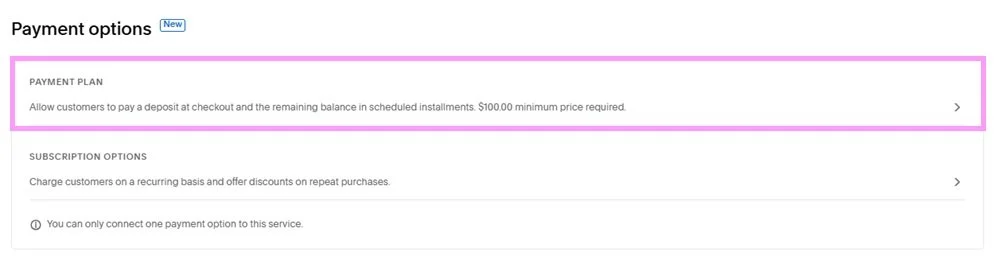
Go to Payment options and click PAYMENT PLAN.
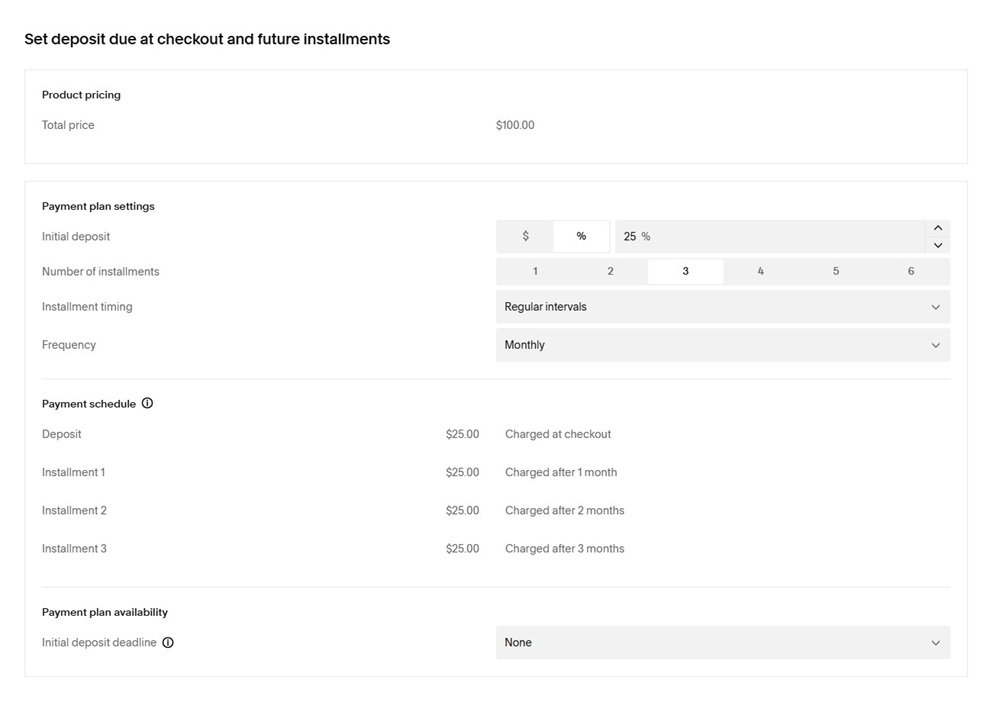
You can then edit the payment schedule including:
The initial deposit
The number of installments
The installment timing and frequency
You can see the payment schedule as you make edits.
When you’re happy with your payment plan, click SAVE.
Step #3: Manage your payment plan
If you’re setting up a payment plan, we recommend updating your store policies and store pages to let customers know. For example, are the deposits refundable if the customer cancels?
If a customer buys a service with a payment plan, it starts immediately upon checkout. You can track all your payment plans in the Orders panel.
Now you know how to set up a payment plan!
If this article has inspired you to set up a Squarespace store, check out our guide to getting started with product pages!